Deploying with Shuttle
So far so good. We have a working API and we can run it locally. Now, let's deploy it to the cloud and see how easy it is to do so with Shuttle.
Shuttle.toml file
Shuttle will use the name of the workspace directory as the name of the project.
As we don't want to collide with other people having named the folder in a similar way, we will use a Shuttle.toml file to override the name of the project.
Go to the root of your workspace and create a Shuttle.toml file with the following content:
name = "name_you_want"
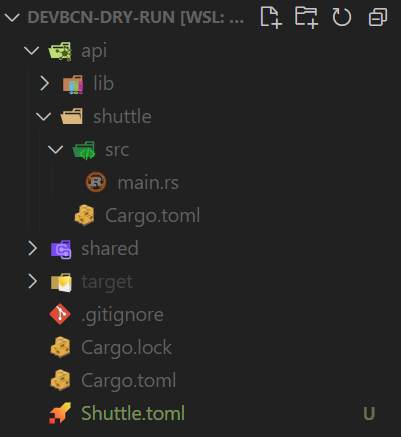
Your directory structure should look like this:
Commit the changes to your repository.
git add .
git commit -m "add Shuttle.toml file"
Deploying to the cloud
Now that we have a Shuttle.toml file, we can deploy our API to the cloud. To do so, run the following command:
cargo shuttle deploy
You should get an error message similar to this one:

Login to Shuttle
Let's do what the previous message suggests and run cargo shuttle login.
Take into account that you will need to have a GitHub account to be able to login.
The moment you run the cargo shuttle login command, you will be redirected to a Shuttle page like this so you can authorize Shuttle to access your GitHub account.

In your terminal, you should see something like this:

Continue the login process in your browser and copy the code you get in the section 03 of the Shuttle page.

Then paste the code in your terminal and press enter.

Let's deploy!
Now that we have logged in, we can deploy our API to the cloud. To do so, run the following command:
cargo shuttle deploy
Oh no! We got another error message:

The problem is that we haven't created the project environment yet. Let's do that now.
cargo shuttle project start
If everything went well, you should see something like this:

Now, let's finally deploy our API to the cloud by running the following command again:
cargo shuttle deploy
You should see in your terminal how everything is being deployed and compiled in the Shuttle cloud. This can take a while, so be patient and wait for a message like the one below:
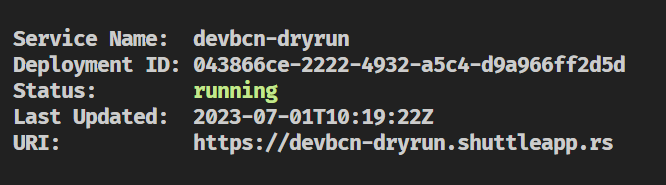
Browse to the URI shown in the message or curl it to see the result:
curl https://<your_project_name>.shuttleapp.rs
Hello world! Easy, right?
We have deployed our API to the cloud!